Recently, I had a need to setup a build pipeline for a medium size .NET Core project and, having a good previous experience with JetBrains TeamCity, I decided to use it in this case as well. Professional Edition is free and its limitations are acceptable for the project – up to three build agents and up to twenty build configurations.
This post provides a step-by-step guide on installing and configuring TeamCity. The starting point is a clean Ubuntu 16.04 LTS server, and the goal is to run TeamCity server, build agents and PostgreSQL on this system using Docker containers. Additionally, the server and the agents are configured to support .NET Core project builds. This solution can be equally easy deployed on a local system or in cloud, like Azure or AWS.
For use of TeamCity in production environment, it is recommended to use an external database for storing the configuration data. For the described case, I use PostgreSQL running in a Docker container as well. So, the full stack includes five Docker containers, one for PostgreSQL, one for TeamCity server and three for the build agents. PostgreSQL database and all the data generated by TeamCity are persisted on a local drive using Docker mounted volumes.
Installing Docker
If you are starting from a clean system, you will need to install Docker and Docker Compose first. The detailed instructions on installing Docker for Ubuntu are available at https://docs.docker.com/engine/installation/linux/ubuntu/ and to install Docker Compose use apt-get:
sudo apt-get install docker-compose
Folder structure
I use /srv folder as a root folder for all the data related to TeamCity builds and here is the full hierarchy of folders you will need to create inside of /srv:
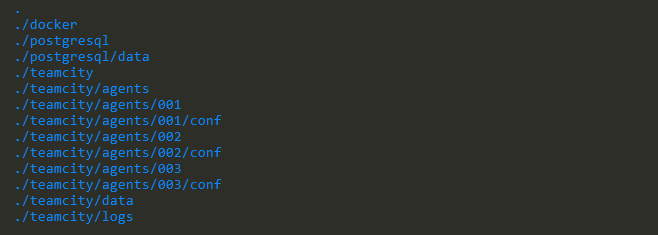
- /srv/docker is used to store docker-compose.yaml file (see below for more details)
- /srv/postgresql/data is used to persist the PostgreSQL database
- /srv/teamcity/agents/00X/conf contains the corresponding agent’s configuration
- /srv/teamcity/data is mounted to the TeamCity container to provide a persistent storage for the database drivers, plugins, etc.
- /srv/teamcity/logs contains TeamCity’s logs
When the folders are created, we are ready to define the stack.
Docker containers
Create a docker-compose.yaml file in the /srv/docker folder and paste the following content
It configures the stack of the required containers. The configuration is self-explanatory and I’d like to highlight just a couple of things:
- All containers are based on the latest version of the corresponding images. It is okay for experimenting and demo, but for the production environment you may want to replace :latest tag with the a particular version of the image to use.
- PostgreSQL password, user name and the database information will be needed later, to connect PostgreSQL with TeamCity.
- The default TeamCity port is 8111, however sometimes it is disabled by IT and the cloud-based server will not be available. The configuration demonstrates how to remap TeamCity from port 8111 to 8080 for the public access.
- While the PostgreSQL and TeamCity server instances are directly based on the official images, the TeamCity build agents are based on an image created (and available on Docker Hub) by me. This image is based on a JetBrain’s build agent image, but also includes installation of the .NET Core SDK (1.0.4 at the moment), allowing to use it for building and executing .NET Core applications.
The only required change for the file is a correct PostgreSQL password and if it is updated, save the file, close it and start the configured stack by running
docker-compose up -d
It will download all the required images and start the containers. We are ready to open and configure TeamCity.
TeamCity first start
In a browser, open TeamCity site. There is nothing special about configuring TeamCity running in Docker comparing with a conventional deployment, so these instructions are provided just for the completeness of the guide and based on a version 2017 of TeamCity.
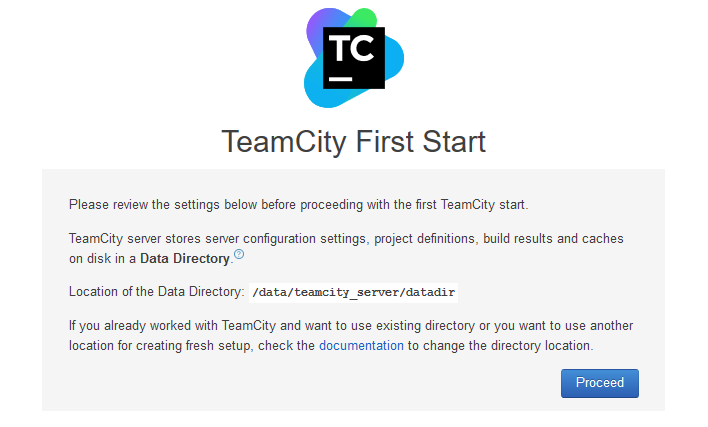
On the first page, just click Proceed, the data directory is properly configured already.
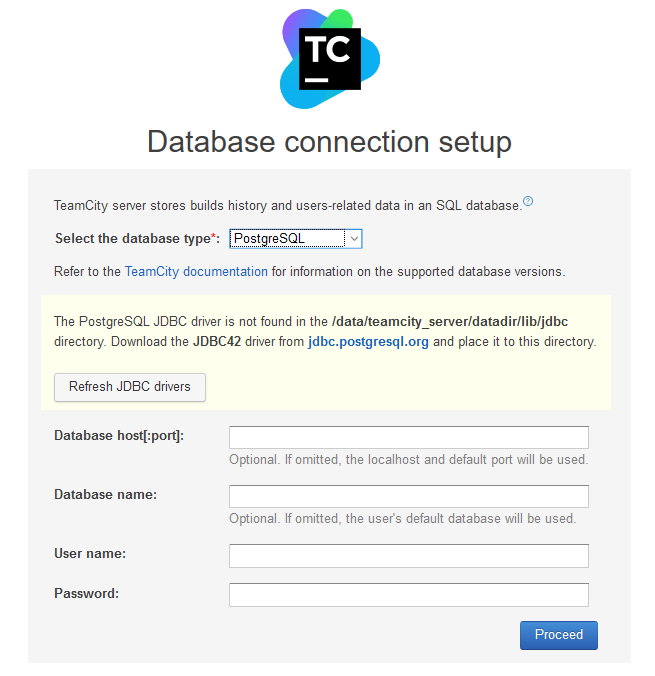
Now you need to connect TeamCity with the running instance of PostgreSQL. But before, you need JDBC drivers – they are not shipped with TeamCity. In terminal, open /srv/teamcity/data/lib/jdbc and put downloaded drivers here, for example by executing
sudo wget https://jdbc.postgresql.org/download/postgresql-42.1.1.jar
Back to the browser and click Refresh JDBC drivers – TeamCity should detect the newly installed drivers and allow you to connect to the database.
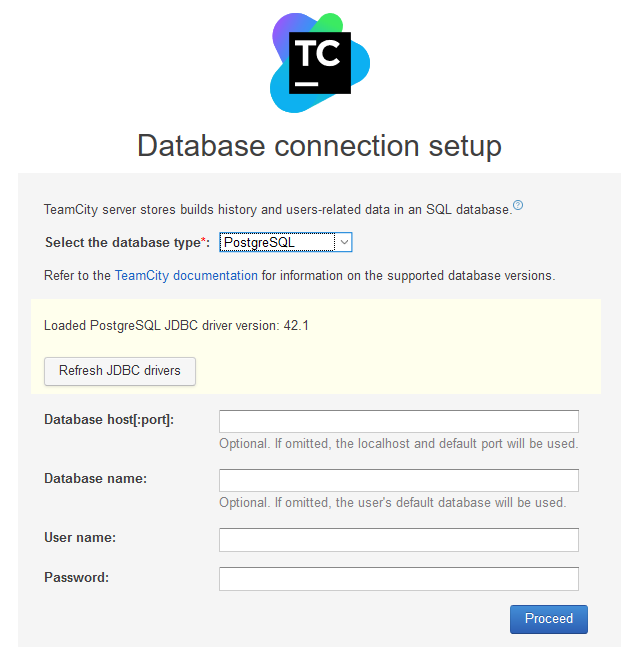
Provide the required information (use database name, user name and the password defined in the docker-compose file) and click Proceed. If you are receiving a connection error, verify that the database host name is entered without ‘http’ and the host allows access to port 5432 for PostgreSQL (most likely will be blocked if the instance is hosted by Azure or AWS).
On the next page accept the agreement, create an administrative account and you are ready to use TeamCity.
Using TeamCity for building .NET Core project
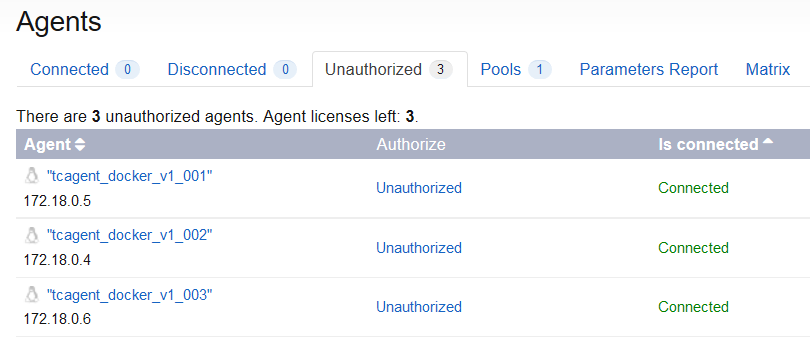
After the start, three build agents shall be detected by TeamCity automatically, but marked as Unauthorized. They need to be authorized manually.
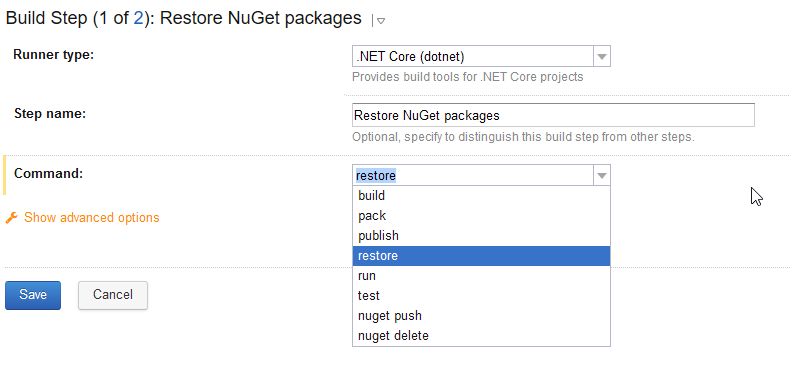
So far, we managed to configure and launch TeamCity and connect the build agent. The last step, before creating a new build project, is to install .NET Core plugin. This step is optional, as you can run .NET Core tasks from the command line runner, but the plugin simplifies steps definition by adding a dedicated .NET Core runner.
The plugin can be downloaded at plugins.jetbrains.com and can be installed via TeamCity UI – just open Administration\Plugins List page and upload the plugin. To enable the plugin, TeamCity requires restart and, unfortunately, there is no way to do it from the UI, so you need to use console again, go to /srv/docker and do
docker-compose stop
docker-compose up -d
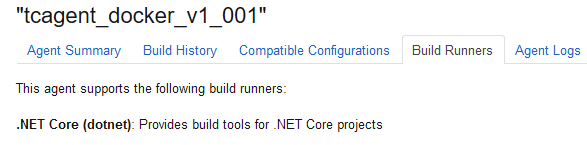
After that, the plugin is installed and the agents are capable to use it (see the agent’s properties)
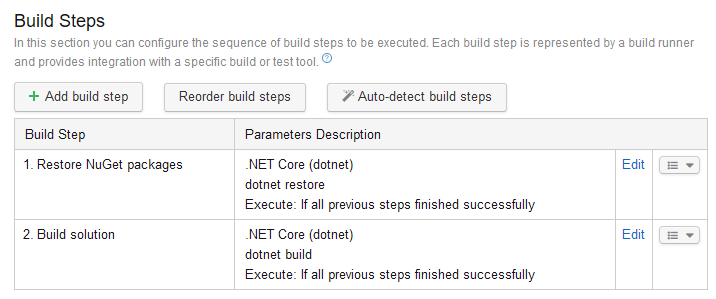
That’s it – now you are ready to create a TeamCity project and configure the first build.
Conclusion
This guide demonstrated an approach for deploying a Docker-based TeamCity setup for running .NET Core build. It is based on a free version of TeamCity and allows an easy cloud deployment.
blog comments powered by Disqus